Picture Perfect

Since wedding season is in full swing and many of you will be getting glam for your big day or your pals day I thought I would share some of my tips. MK and I have been photographing wedding for nine years and I've been doing a ton of makeup (and hair) throughout the years. After over 150 weddings shot, I sure have seen just about everything. From spray tans gone wrong, black marks on a dress, or even shoes breaking walking into the church. I know how to handle just about everything. I could go on and on about that but for now, I'm sharing my pro makeup tips for your next event.

IMG_2321.JPG

1. Stay away from shine!! Keep it matte all the way. Now that the weather is warmer lets face it, you can get a little sweaty. Thats a bad combination with shiny make up and being photographed.  

2. If you aren't having your makeup professionally done, make sure your foundation matches your skin tone perfectly. If not, the photos will show that it doesn't.  

3. When I do a brides makeup unless requested otherwise I always try to keep her as natural as possiblele and as close to what she looks like normally with just a tad more glam. You never want to look at your wedding photos in 20 years and say "What was I thinking with that makeup?!".  At the same time you don't want to go too light on the makeup because even if you feel like your eyes look a little heavy with makeup, it won't photograph that way. I call it natural glam. 

4. When it comes to liner, I always use a gel because I like the way it looks. Also, I'll start the liner in the middle of the eye because lining it all the way to the corner can make the eye look smaller. 

5. Never ever skip the primer! Not only does it smooth, you know like spanx for your face, it will keep your makeup on so much longer. Don't forget eyelid primer too! The smoothing effect really makes for much better photos

I hope my tips helped! Hoping everyone has a great wedding season no matter what part you play! 

xoxoss.jpg

Fresh and Sunny

Happy Friday!

I finally wanted to share our latest home improvement with you guys. 

When we first bought our house two and a half years ago, we were excited to have a sunroom but didn't really know what to do with it. We didn't love all the wood paneling (not huge fans of too much wood everywhere). We had a big list of things that needed done so this project went on the back burner until we finished my dressing room, sitting and dining room, bar, Theo's room, and many other odds and ends. 

The before:

747A5940_stitch SMALL.jpg
747A5951_stitch SMALL.jpg

The after:

When it was time to finally do the sunroom I knew I wanted green. Duh. It's only been my favorite color forever. But what about the wood? There was no way we could look at it any longer. After speaking with some people who knew what they are talking about, we decided to cover it in drywall and paint. I wanted to keep it very fresh feeling. The green we chose was a bright earthy one. So even in the winter it will still have a great bright cozy feel.  

A66A0934_stitch Small.jpg
A66A0943_stitch SMall.jpg

The wood on the ceiling had to say so we decided to go with a dark stain since the room has so much light. The floor we chose pulls in the dark stain making all the colors come together. Not only do MK and I share a love of a good home reno, we also deeply love lights. Especially chandeliers. Once we chose the light, we came up with the idea to add greenery to it. This was my favorite part of doing this room. 

A66A0901.jpg

Next to furnish it. MK found the day bed and I coudn't get the words out of my mouth fast enough "GET IT! GET IT RIGHT NOW!". I could just picture all five of us cozied up out here watching a movie. I really liked the addition of grey to the color pallette we had going on. It breaks it up a little. This day bed was well worth it. It's so perfect for writing, napping, or just relaxing for a minute...you know while the baby sleeps. We also wanted a table to sit at but wanted nothing bulky. We found the perfect skinny table to eat at, have fresh herbs, or if need be a champagne bar like I did for Theo's Baptizim.  

A66A0924.JPG
A66A0911.JPG

Since we made this room basically from scratch I felt like when it came time for pillows they needed to also be from scratch. So I chose a fun floral pattern and a more cozy matchy one and got sewing!  

Now on to this week's cocktail!  

A66A1598.jpg

Peel the cucumber, cut it, and remove the seeds but save a couples slices for garnishing. Blend the rest of the cucumbers and strain in to a bowl. Then combine cucumber, sugar vodka in your shaker. Pour over muddled mint leaves and lastly garnish with mint and reserved cucumber slices. The perfect fresh martini for a sunny Spring day. 

DIY

After all that I'm sharing a very easy DIY to add some color and freshness to any room you may have. We had a hook that was already there and I wanted to do something floral there that wouldn't need watered for obvious reasons. Here is what you need:

Flowers of your choice

Moss

Any circular ball

String

IMAGE.JPG
IMAGE.JPG

I put purple moss in the green ball and green in the brown. Add the flowers, string, and just hang!  No reason to not utilize a hook right?

A66A0906.jpg

Have a great weekend! Ours is jam packed! So give me all the coffee...then wine.

IMG_8911.JPG

Elevate Your Pizza

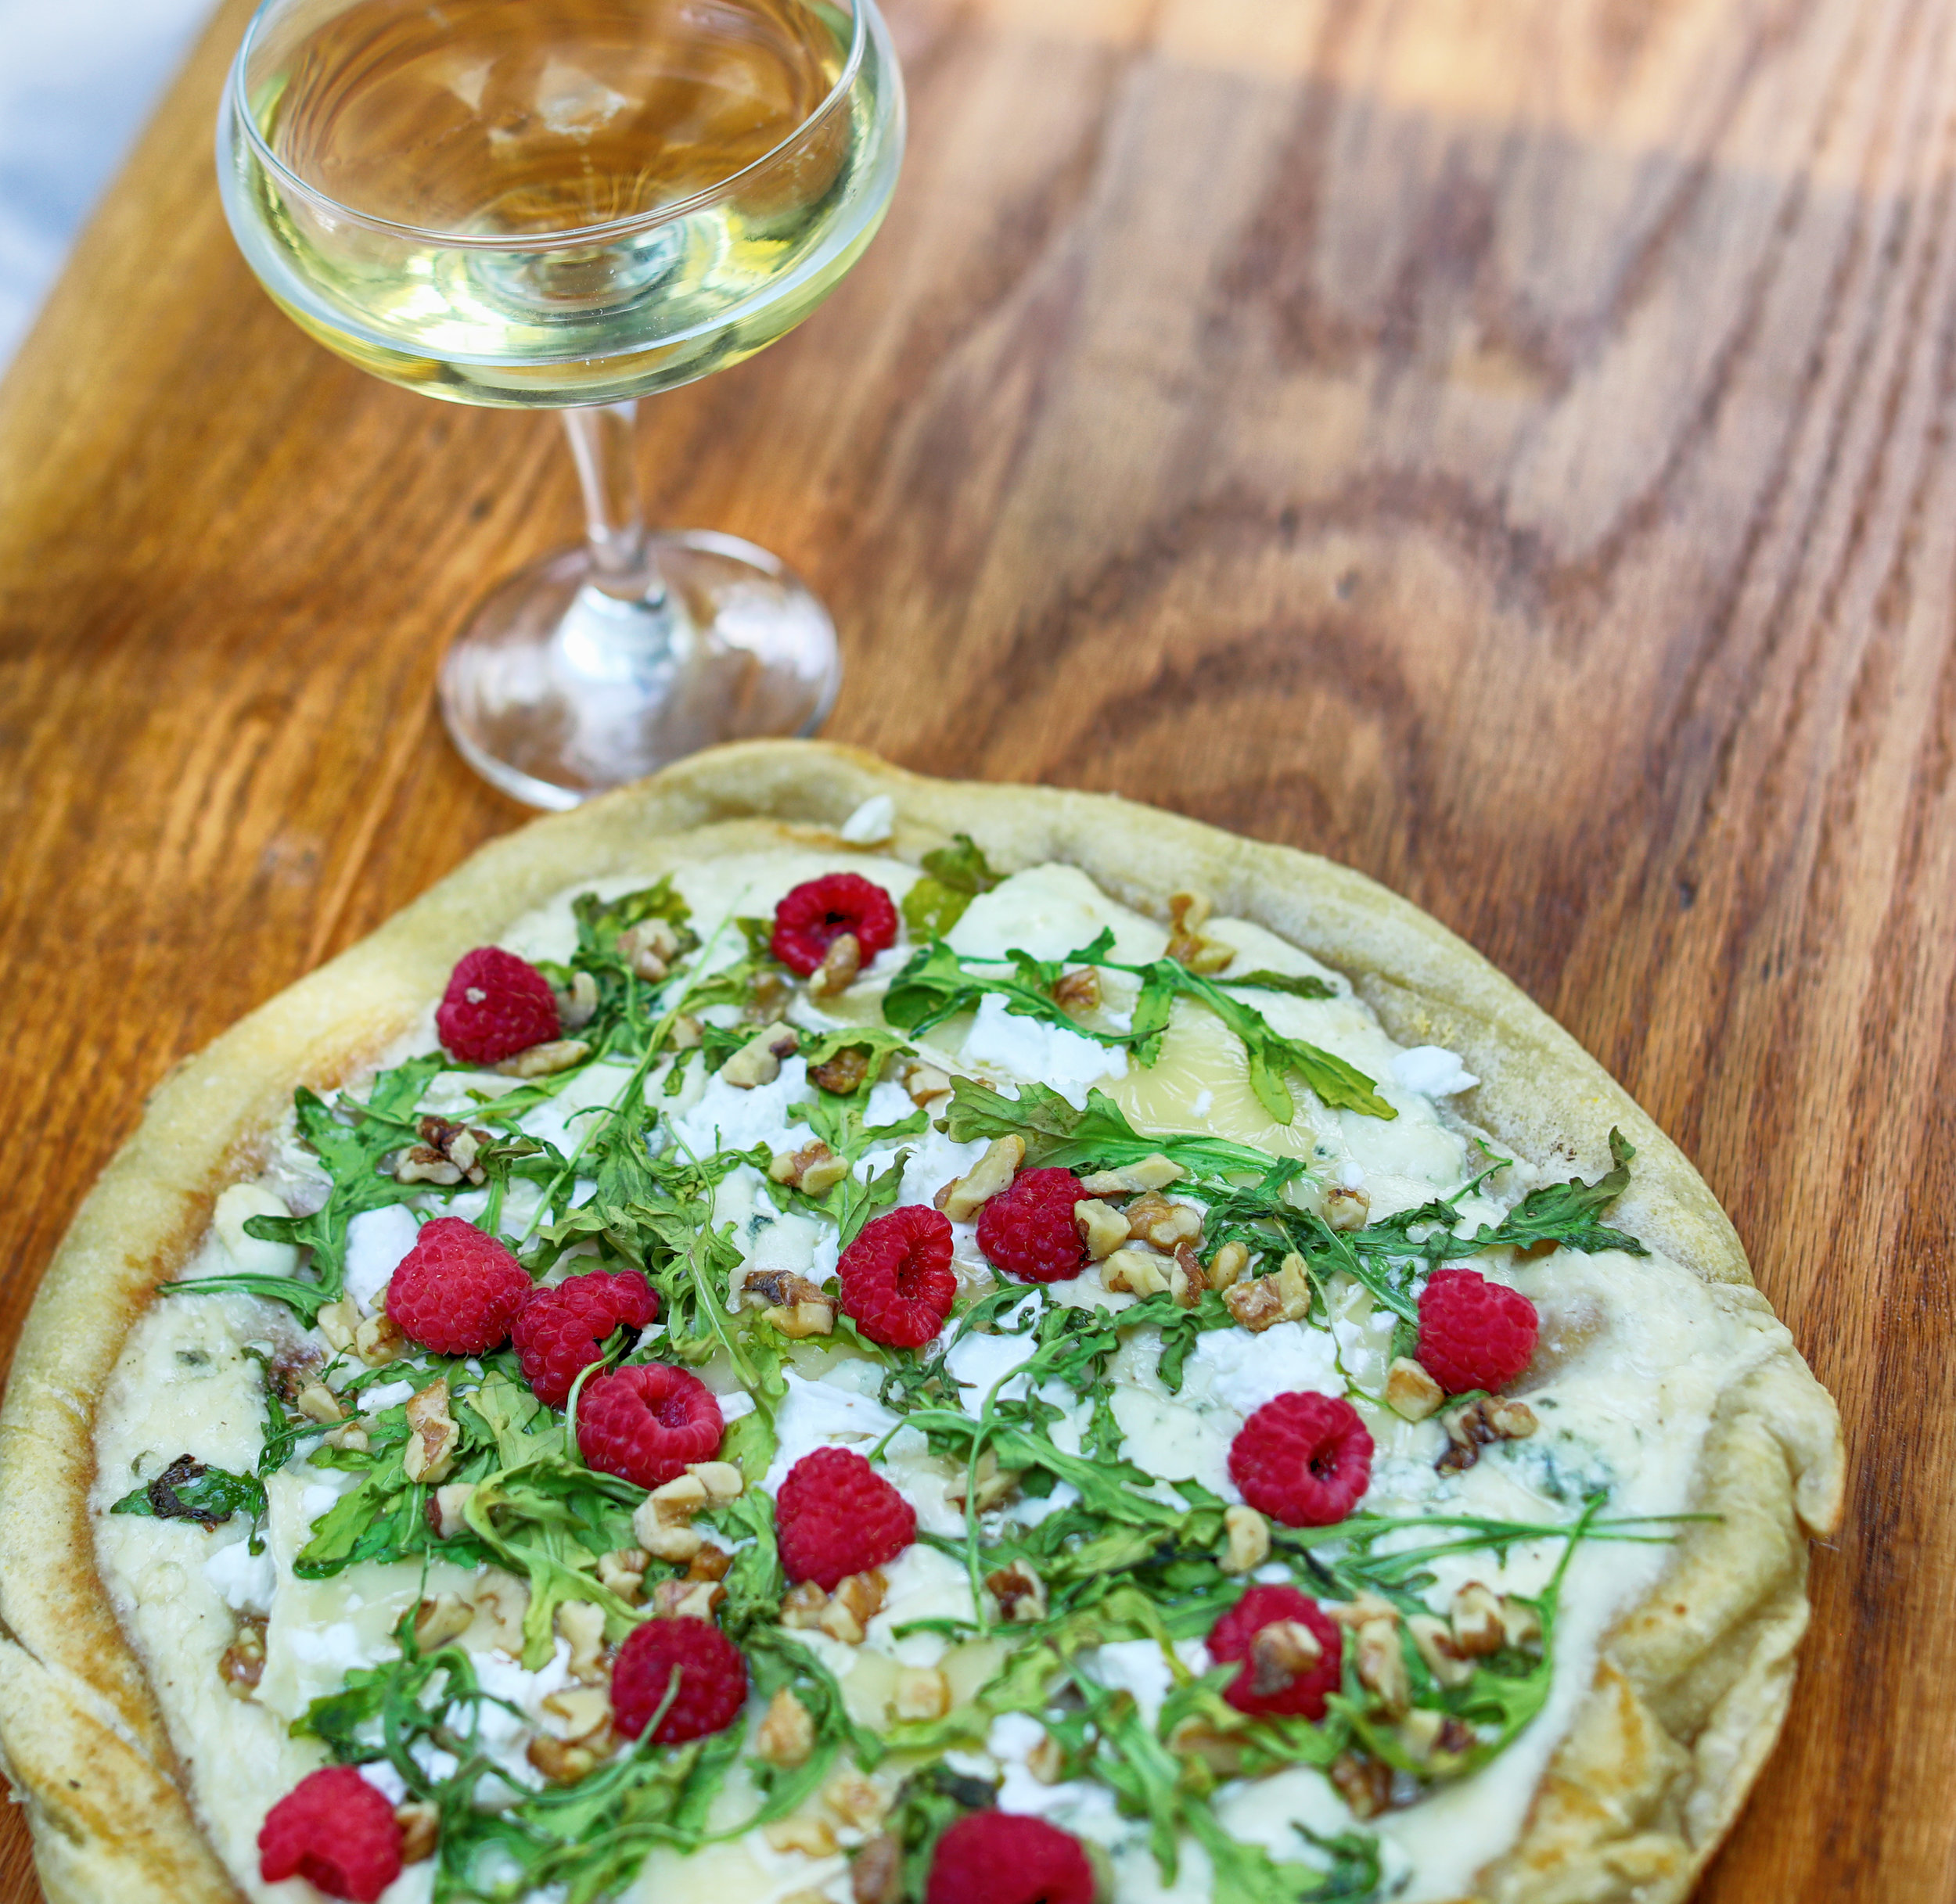
Who's ready for a fancy pizza party? To me any day is a good day for pizza but why not kick up your pizza game a notch? One of my favorite things about cooking is mixing different flavors to get a really unique taste. This fabulous spiring pizza is just that and is far from your average dish. 

Three Cheese Raspberry Spring Pizza

What you need: 

Pizza crust (I bought pre made) 

1/3 cup Heavy Whipping Cream

1/3 cup Parmasean  

Brie, goat, and blue cheese

Baby arugula  

Fresh Raspberries

What you do: 

This is so super easy! When I make pizzas I really like using my cast iron skillet. Put your dough in the skillet on high for a couple minutes on each side. Remove from heat. Then, combine the parm cheese and heavy cream in a small saucepan on medium heat until it's really thick. Sprinkle in some garlic salt for taste. Spread it on the pizza, add your cheeses, and everything else. Put the cast iron skillet in the over on 450 degrees for 10 minutes. 

Enjoy!

IMG_2320.JPG

Have an awesome Wednesday Friends! 

xoxoss.jpg