Flowers

Fresh and Sunny

Happy Friday!

I finally wanted to share our latest home improvement with you guys. 

When we first bought our house two and a half years ago, we were excited to have a sunroom but didn't really know what to do with it. We didn't love all the wood paneling (not huge fans of too much wood everywhere). We had a big list of things that needed done so this project went on the back burner until we finished my dressing room, sitting and dining room, bar, Theo's room, and many other odds and ends. 

The before:

747A5940_stitch SMALL.jpg
747A5951_stitch SMALL.jpg

The after:

When it was time to finally do the sunroom I knew I wanted green. Duh. It's only been my favorite color forever. But what about the wood? There was no way we could look at it any longer. After speaking with some people who knew what they are talking about, we decided to cover it in drywall and paint. I wanted to keep it very fresh feeling. The green we chose was a bright earthy one. So even in the winter it will still have a great bright cozy feel.  

A66A0934_stitch Small.jpg
A66A0943_stitch SMall.jpg

The wood on the ceiling had to say so we decided to go with a dark stain since the room has so much light. The floor we chose pulls in the dark stain making all the colors come together. Not only do MK and I share a love of a good home reno, we also deeply love lights. Especially chandeliers. Once we chose the light, we came up with the idea to add greenery to it. This was my favorite part of doing this room. 

A66A0901.jpg

Next to furnish it. MK found the day bed and I coudn't get the words out of my mouth fast enough "GET IT! GET IT RIGHT NOW!". I could just picture all five of us cozied up out here watching a movie. I really liked the addition of grey to the color pallette we had going on. It breaks it up a little. This day bed was well worth it. It's so perfect for writing, napping, or just relaxing for a minute...you know while the baby sleeps. We also wanted a table to sit at but wanted nothing bulky. We found the perfect skinny table to eat at, have fresh herbs, or if need be a champagne bar like I did for Theo's Baptizim.  

A66A0924.JPG
A66A0911.JPG

Since we made this room basically from scratch I felt like when it came time for pillows they needed to also be from scratch. So I chose a fun floral pattern and a more cozy matchy one and got sewing!  

Now on to this week's cocktail!  

A66A1598.jpg

Peel the cucumber, cut it, and remove the seeds but save a couples slices for garnishing. Blend the rest of the cucumbers and strain in to a bowl. Then combine cucumber, sugar vodka in your shaker. Pour over muddled mint leaves and lastly garnish with mint and reserved cucumber slices. The perfect fresh martini for a sunny Spring day. 

DIY

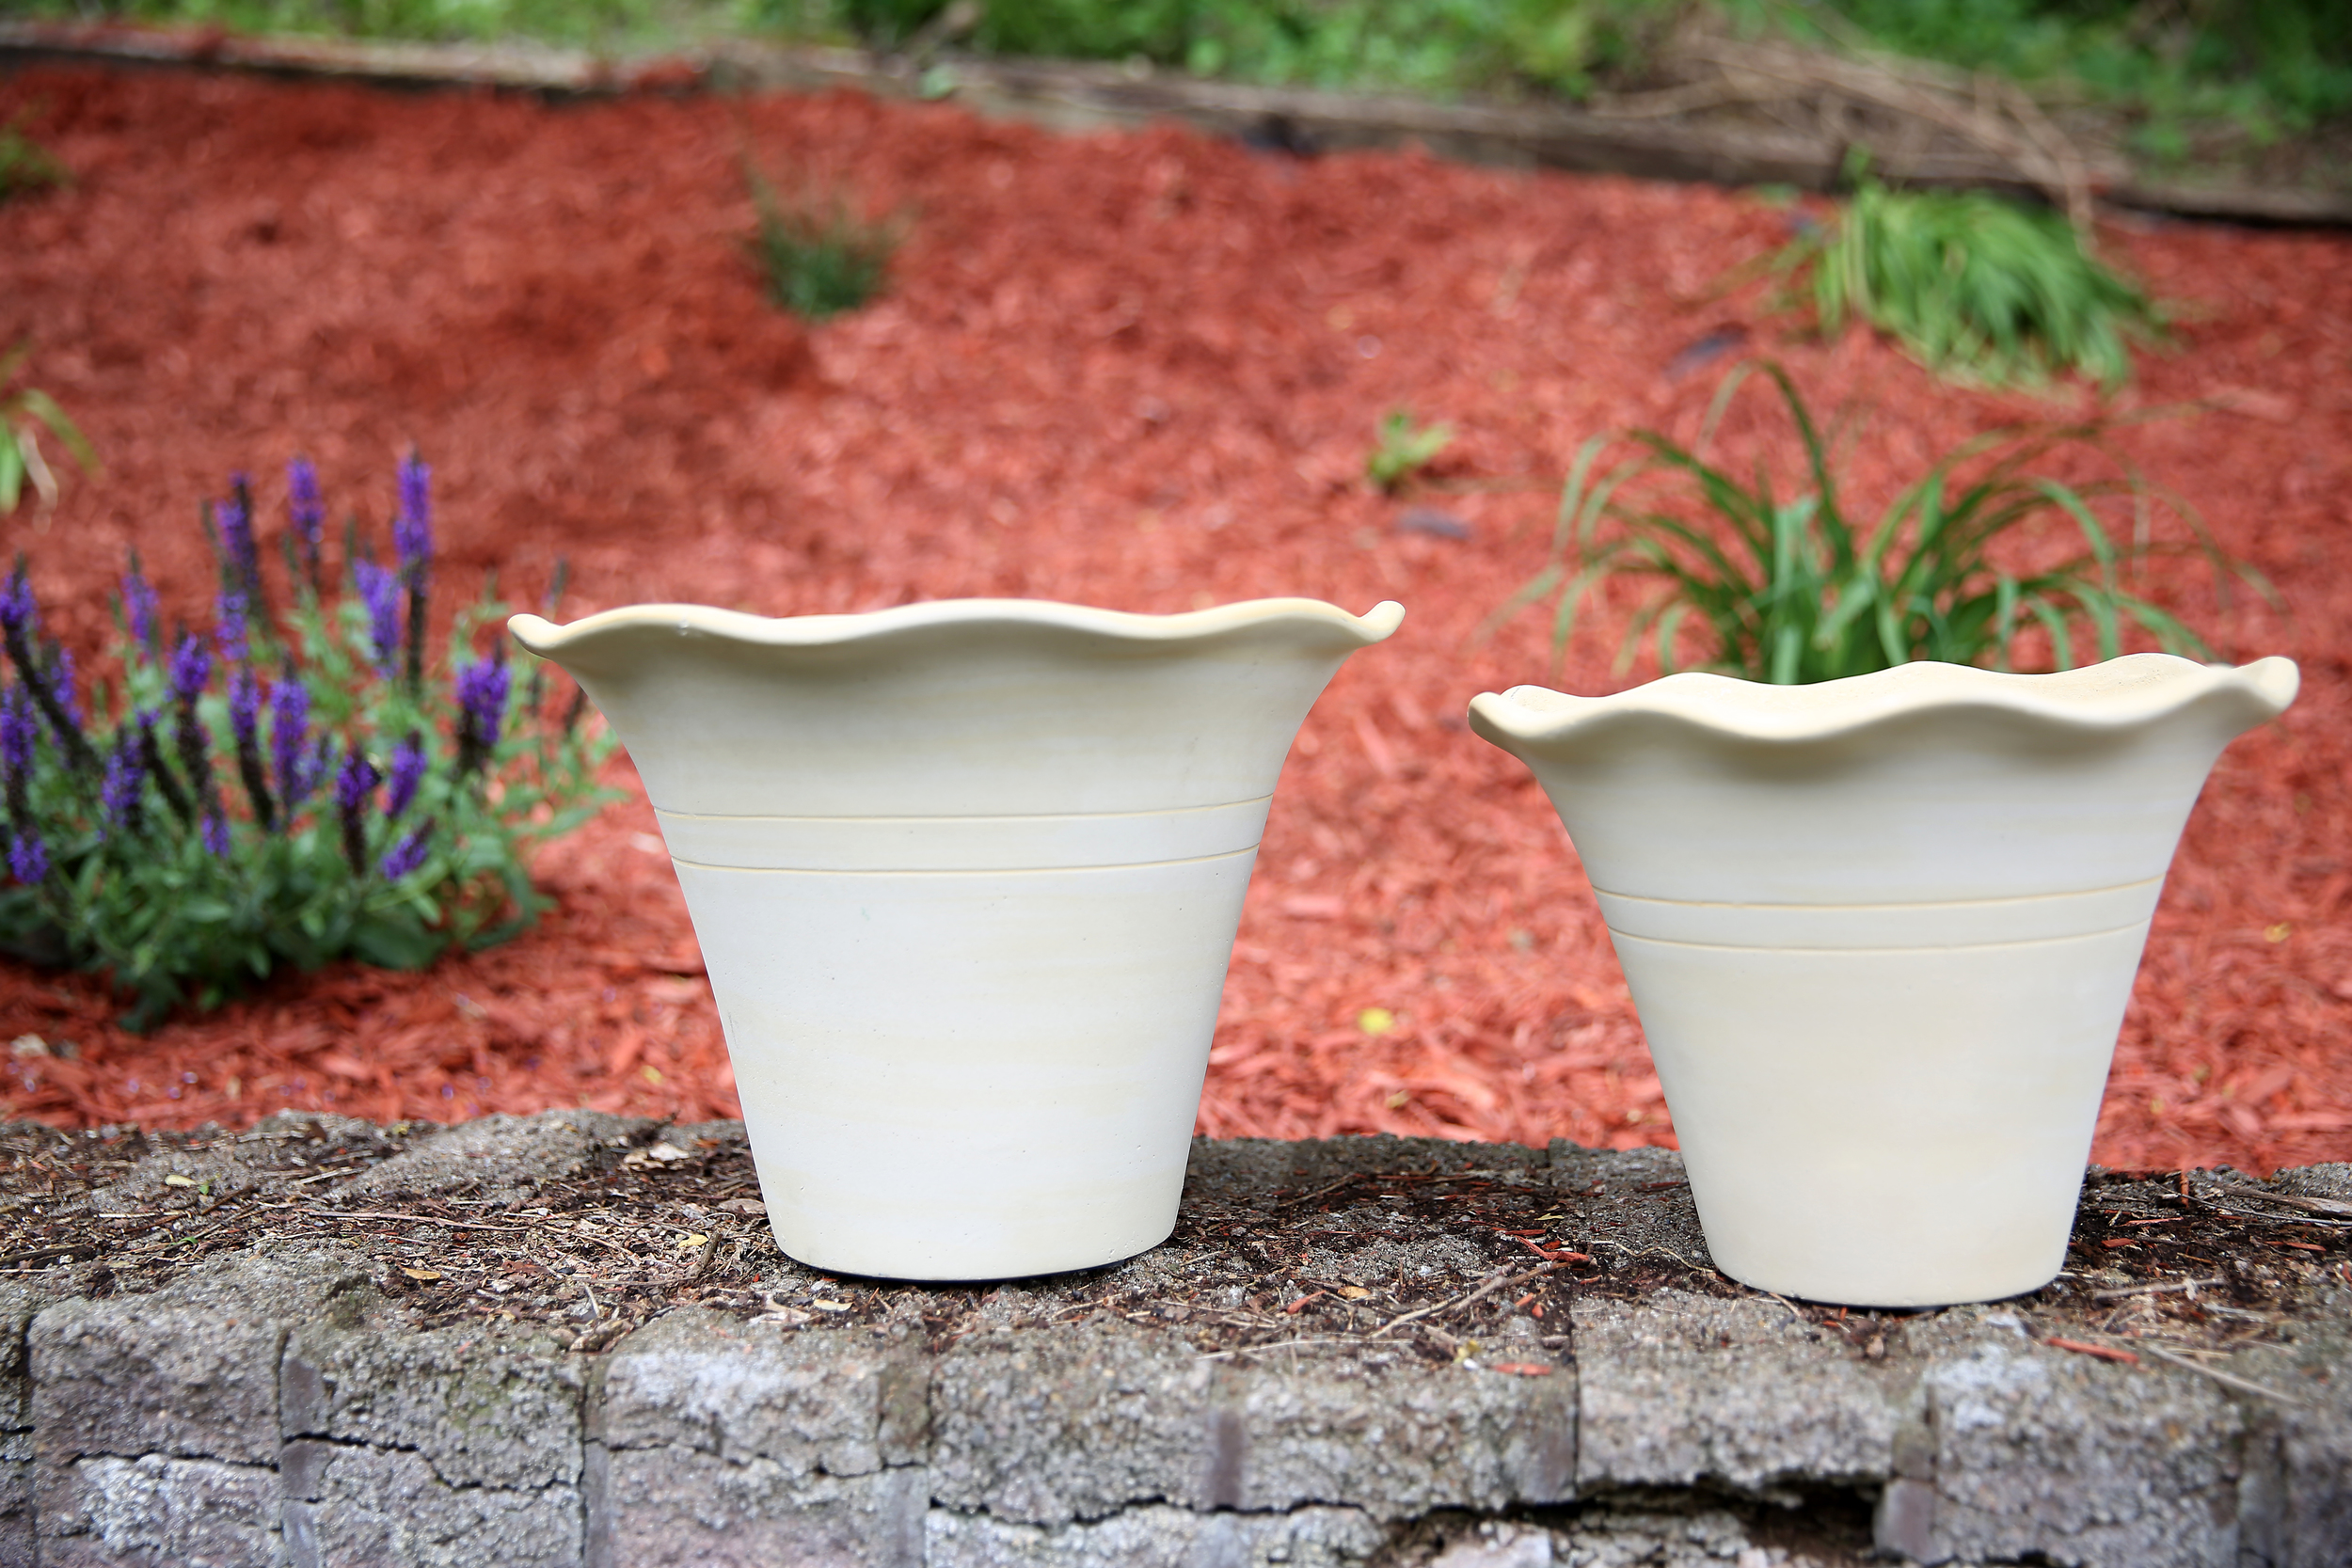
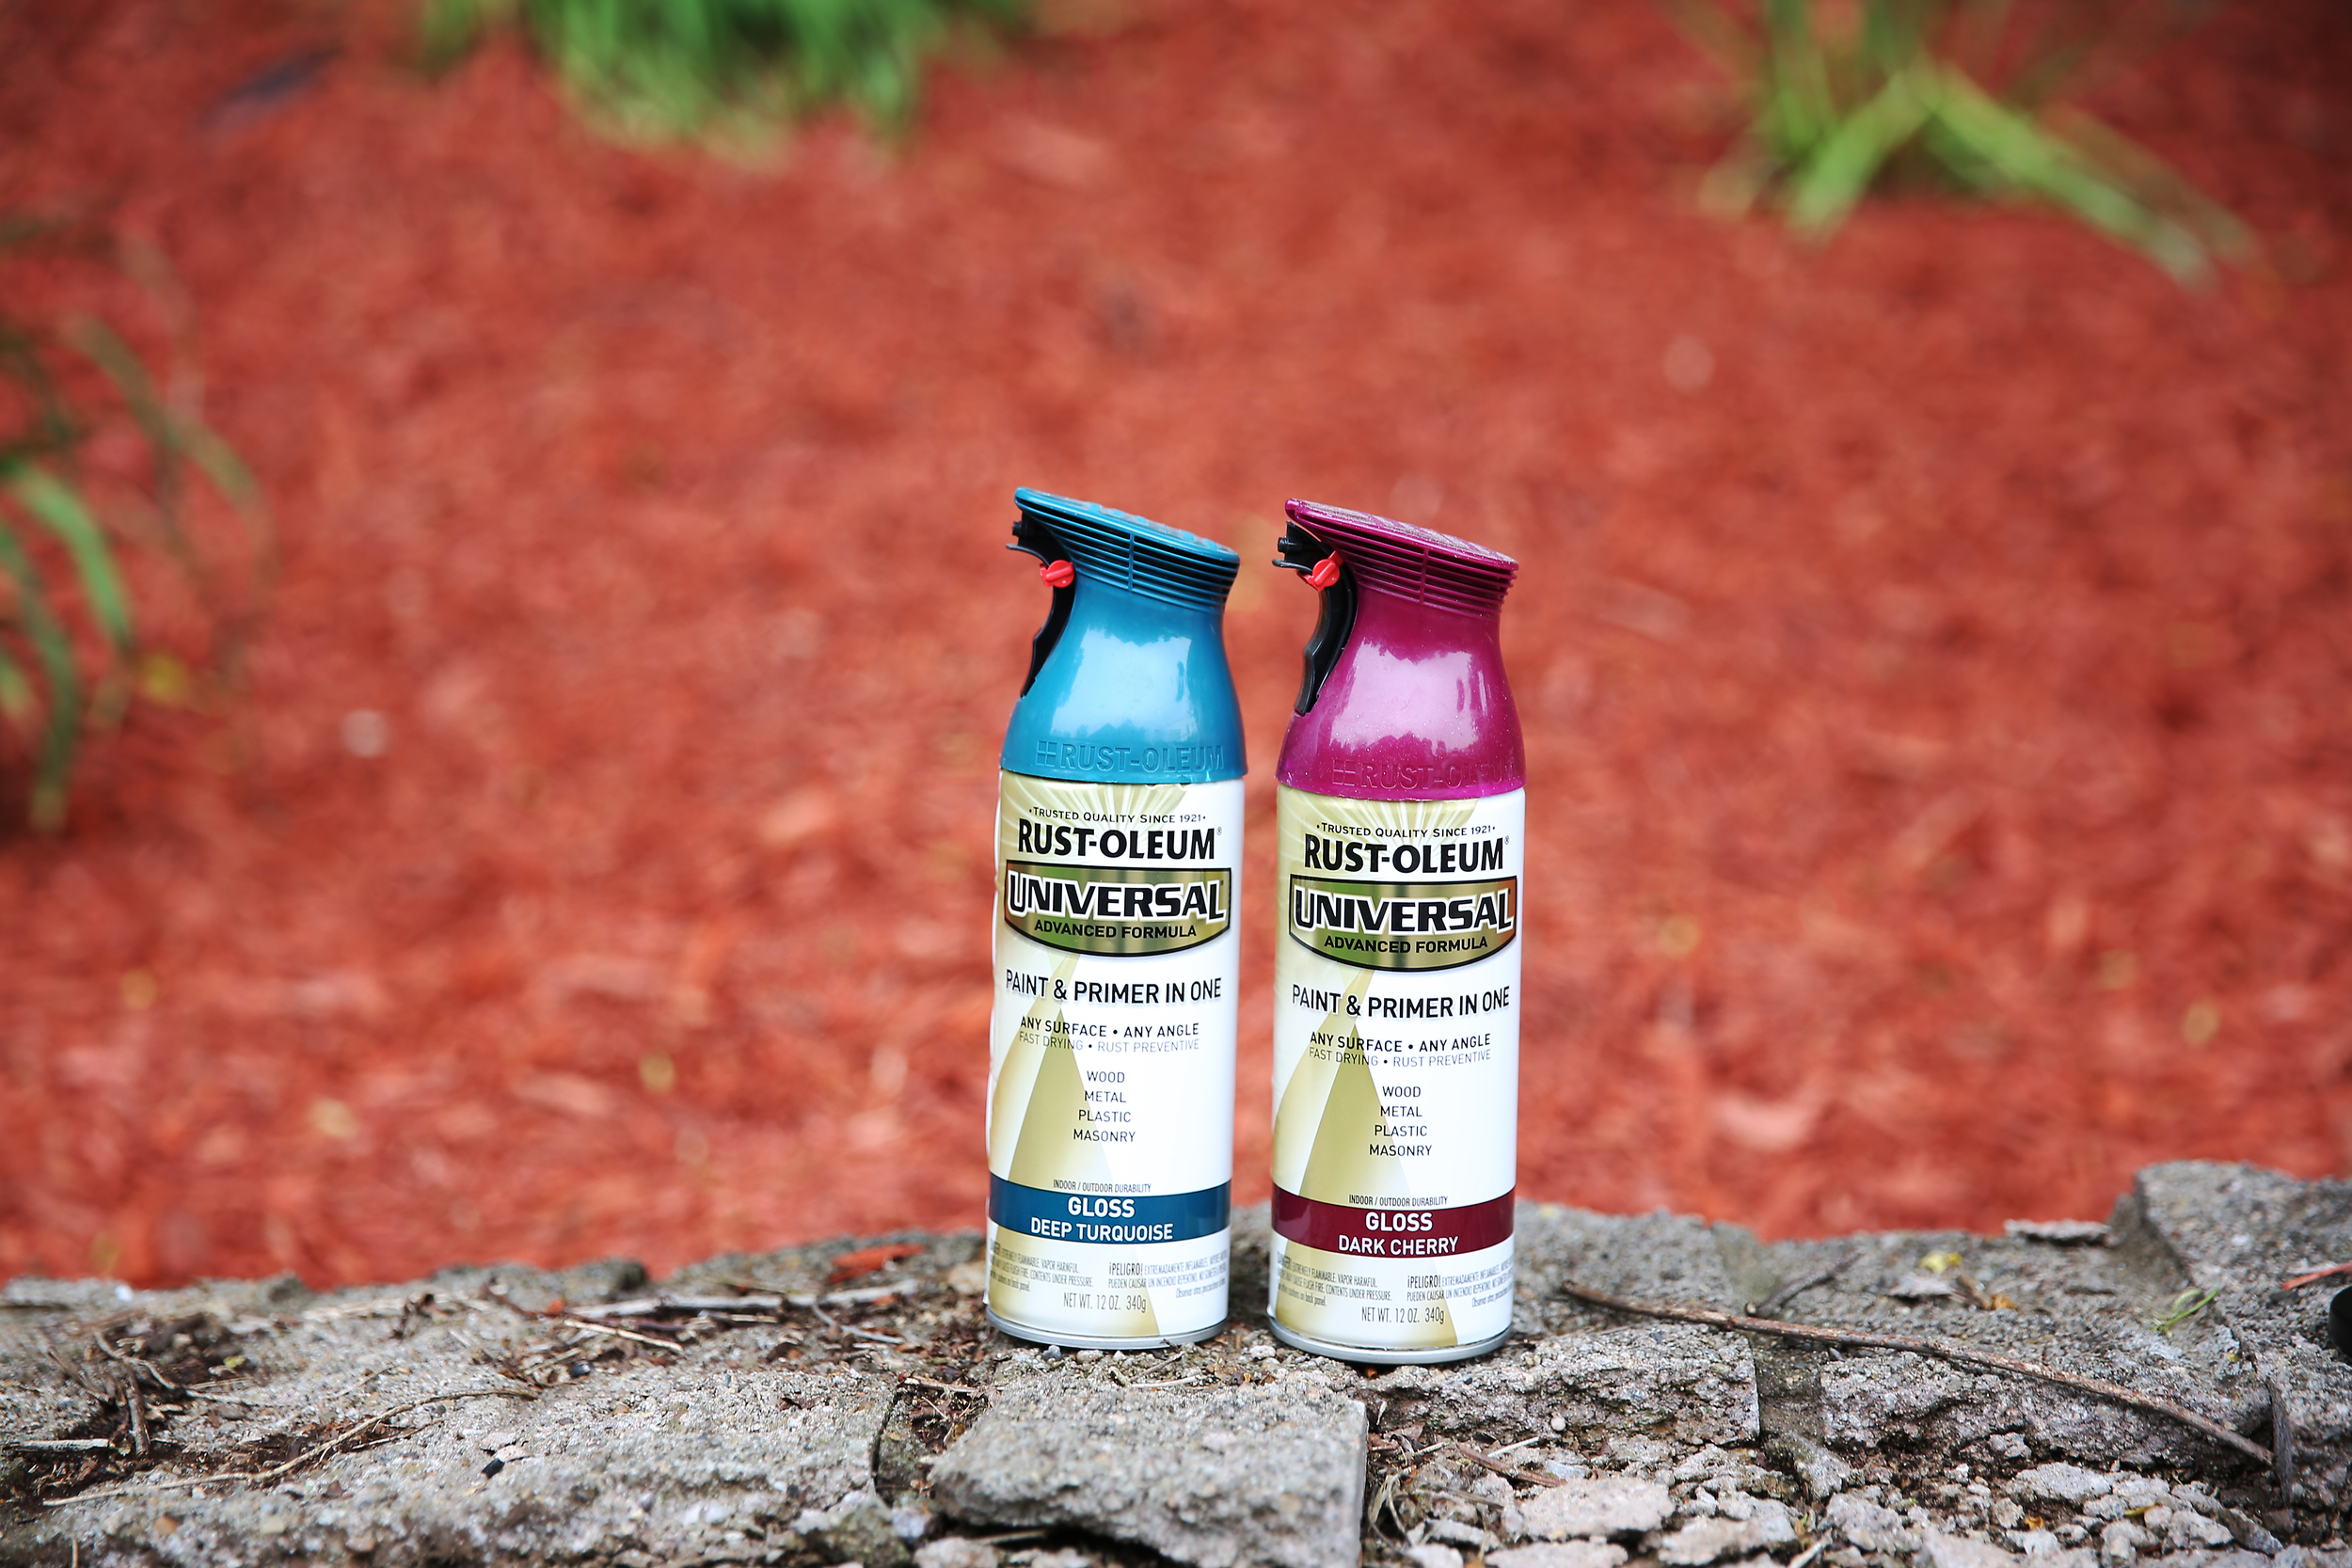
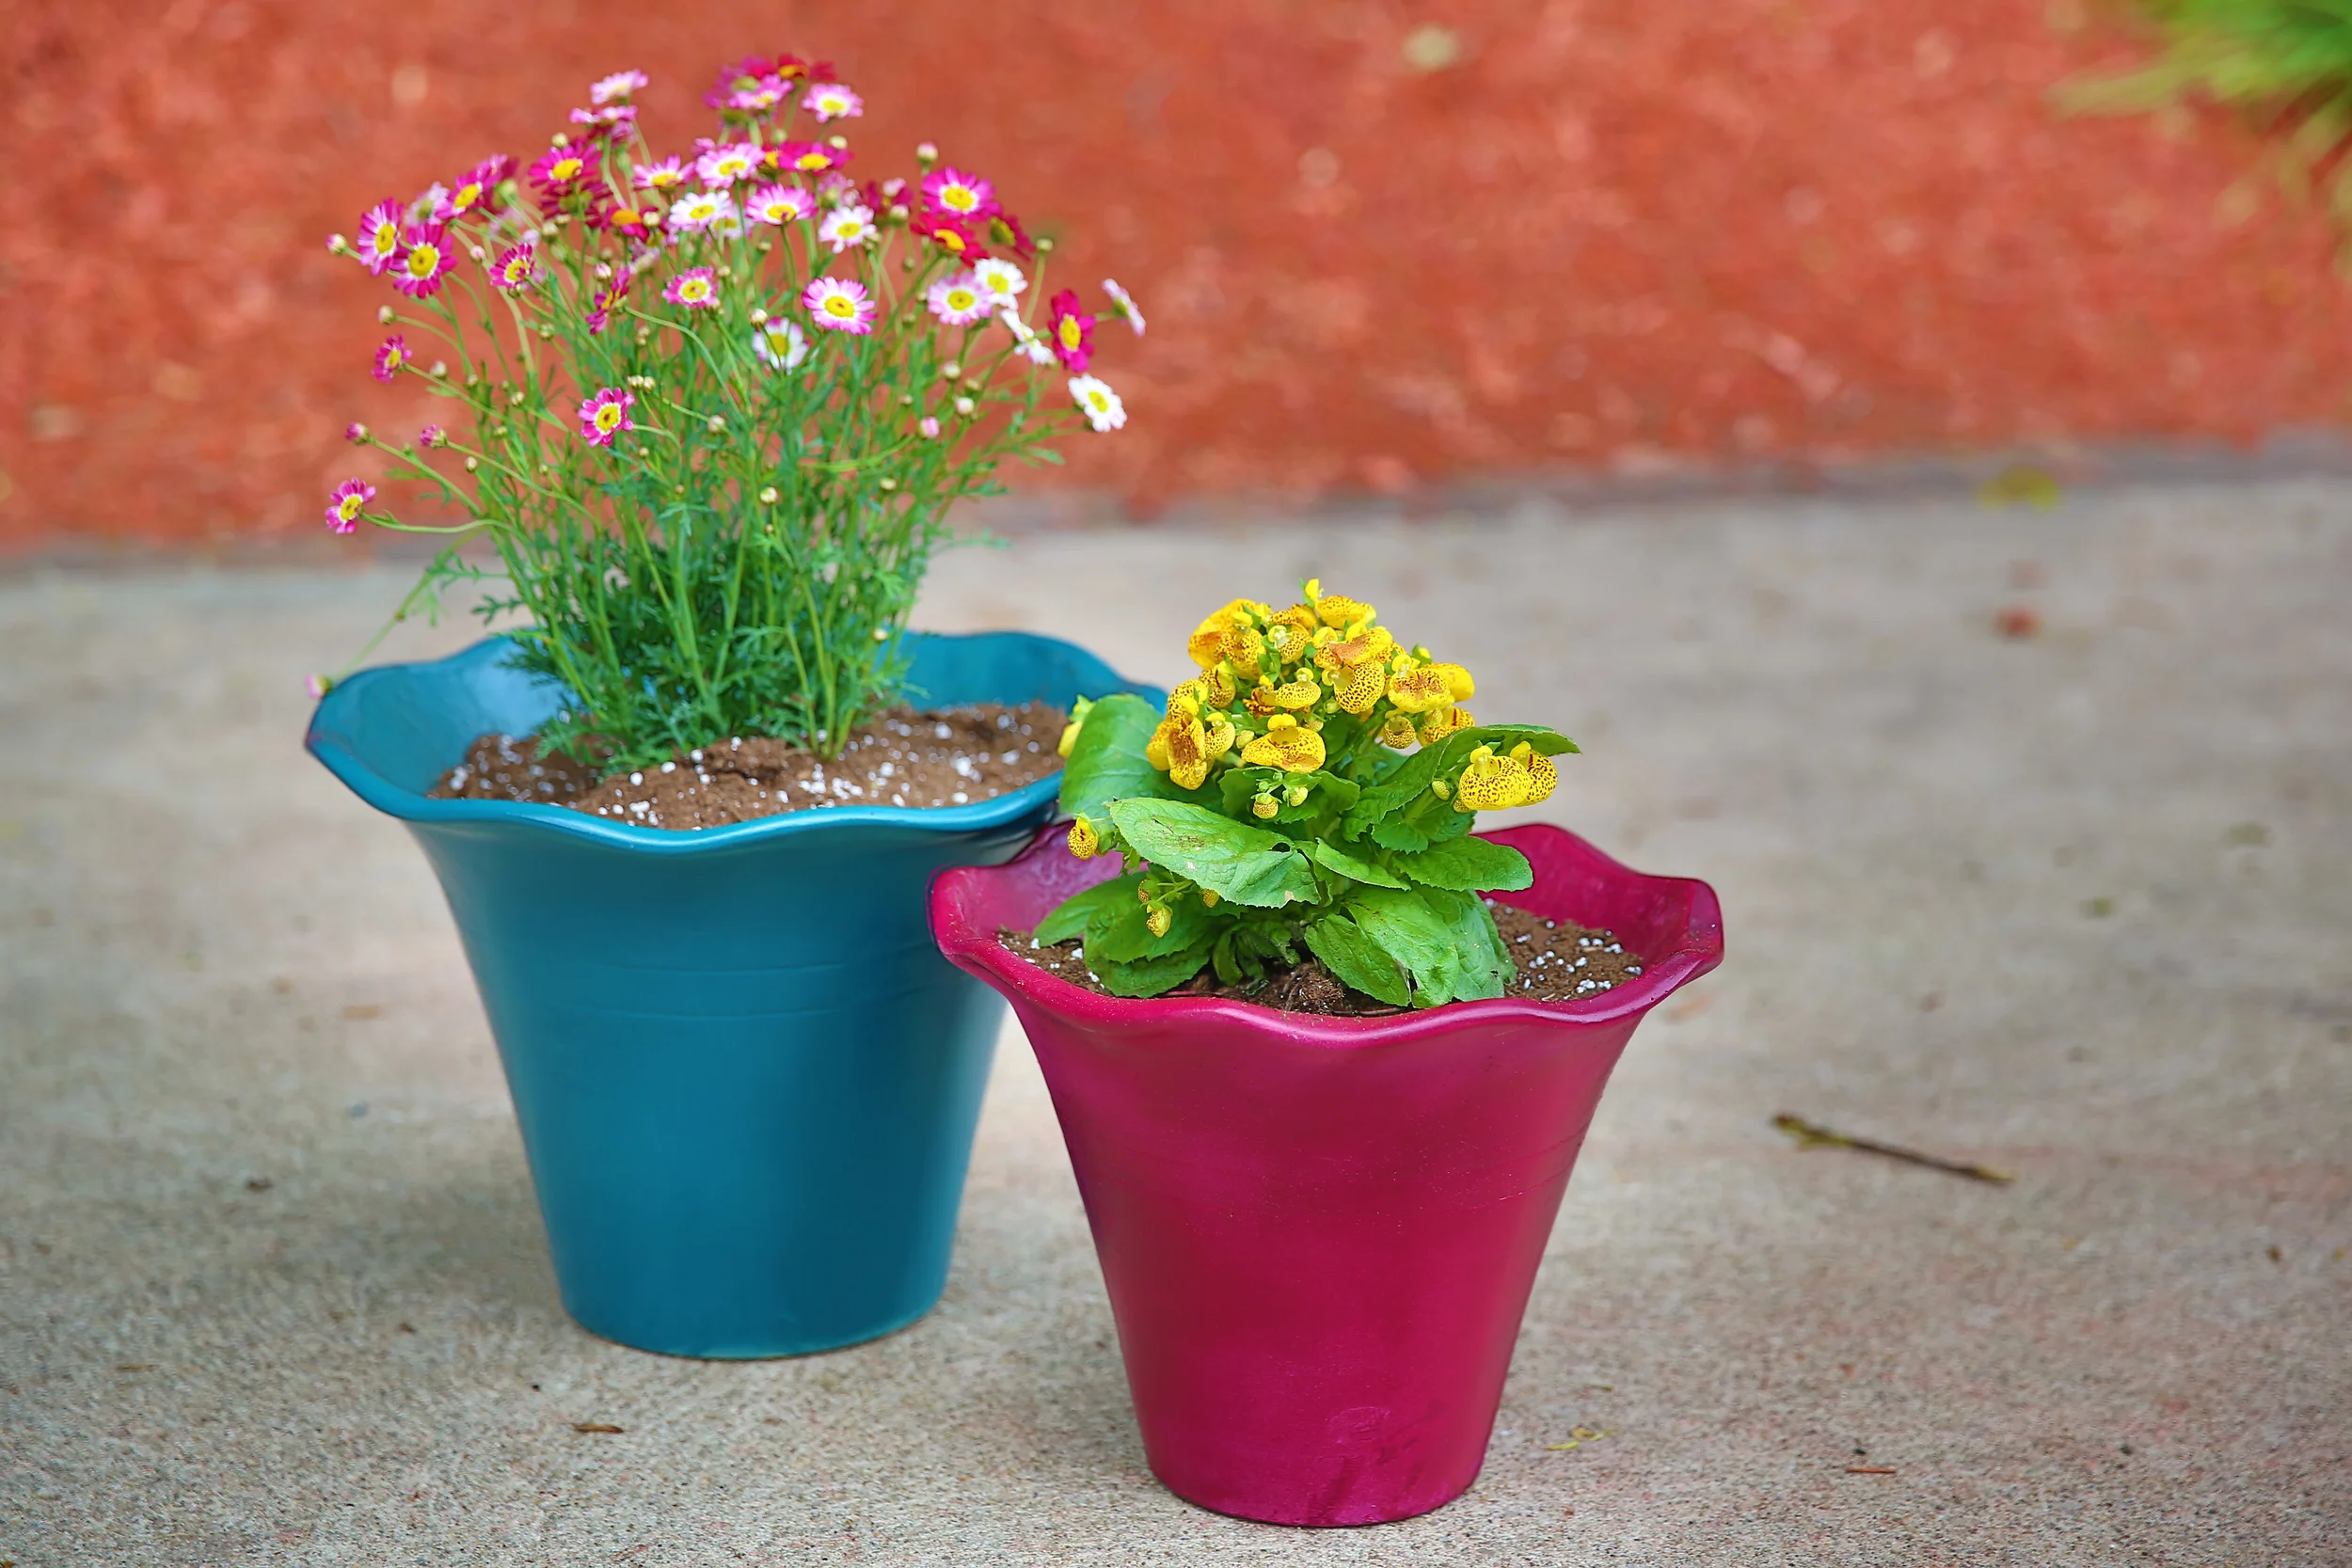
After all that I'm sharing a very easy DIY to add some color and freshness to any room you may have. We had a hook that was already there and I wanted to do something floral there that wouldn't need watered for obvious reasons. Here is what you need:

Flowers of your choice

Moss

Any circular ball

String

IMAGE.JPG
IMAGE.JPG

I put purple moss in the green ball and green in the brown. Add the flowers, string, and just hang!  No reason to not utilize a hook right?

A66A0906.jpg

Have a great weekend! Ours is jam packed! So give me all the coffee...then wine.

IMG_8911.JPG

The Need For Blooms

Happy Monday All!

Every Winter, usually in January I have a desperate need to have fresh flowers in the house. Don't get me wrong there is never a bad time to have fresh blooms in the house but in the cold it's a must.  I certainly won't pretend to be a florist because those people are down right talented. But for those of us who just want something pretty to look at here are some tips for making your arrangement very pleasing to the eye.  

First get your chosen vase and using regular scotch tape make vertical and horizontal lines about an inch or two apart depending on the size of your vase. 

Greens are the nest step. Choose your fillers and start placing them in your grid randomly. 

Make sure you always trim your stems on an angle. This makes it easier for the flowers to drink the water. Also when trimming hold the flower next to the vase so that you can see where it will hit. Your "Face Flowers" are next. These are the big super pretty ones. Pick three or five. Try to picture where they will go in your arrangement. Cut them at different heights so that there is dimension. Keep spinning your vase to decide which way looks better to you.  

Next is accent flowers, use a lot or a little. I used complimentary colors (opposite side of the color wheel).

Fill in any and extra space with your greenery or more accent flowers.  

Fast Tip: You can cover the walls of the vase with greenery or make sure you clean off the bottom of the stems and crisscross them for a more polished look.

I hope your coffee is extra hot on this freezing day!

xoxo  

Planting Possibilities

Two things are for certain, I love projects and making things my own. This time of year it's so easy to get completely lose in Home Depot. Which was exacty what I did this past weekend. So I am dedicating this week to those of us with a green thumb.  

This project is fast, easy, and rather beautiful. You can find these blank canvas pots at of course Home Depot. You can use a regular clay pot too but then they are white you'll probably only need one coat of spray paint.

Speaking of spray paint pick your colors. I went with complimentory ones. I seriously love these colors together! 

Boom. The plain white pots went from blah to so colorful! This is such a fun little project I just had to share!  

I hope everyone had a great Memorial Day weekend! Cheers to a summer full of beautiful flowers and even more DIY's!