Beauty

Chic & Boozy

Hello Friday and hello weekend I'm so ready for you! Mostly because its our last one off in a loooooooooong time. 

It's no secret that Fall Fashion is on my brain and I'm pretty much living for it right now. So for today's Martini Moment, I bring you a chic DIY and a very fun and potent drink recipe.

I've said it a million times: I love feathers!! So when they are on the runways I basically freak out. And there are a lot of feathers on the runways for this season. Today, I'm sharing a fun way that you can make your own earrings with the feather trend because not only are feathers on garments they are on accessories! This DIY is quick and so SO trendy! 

747A1072C.jpg

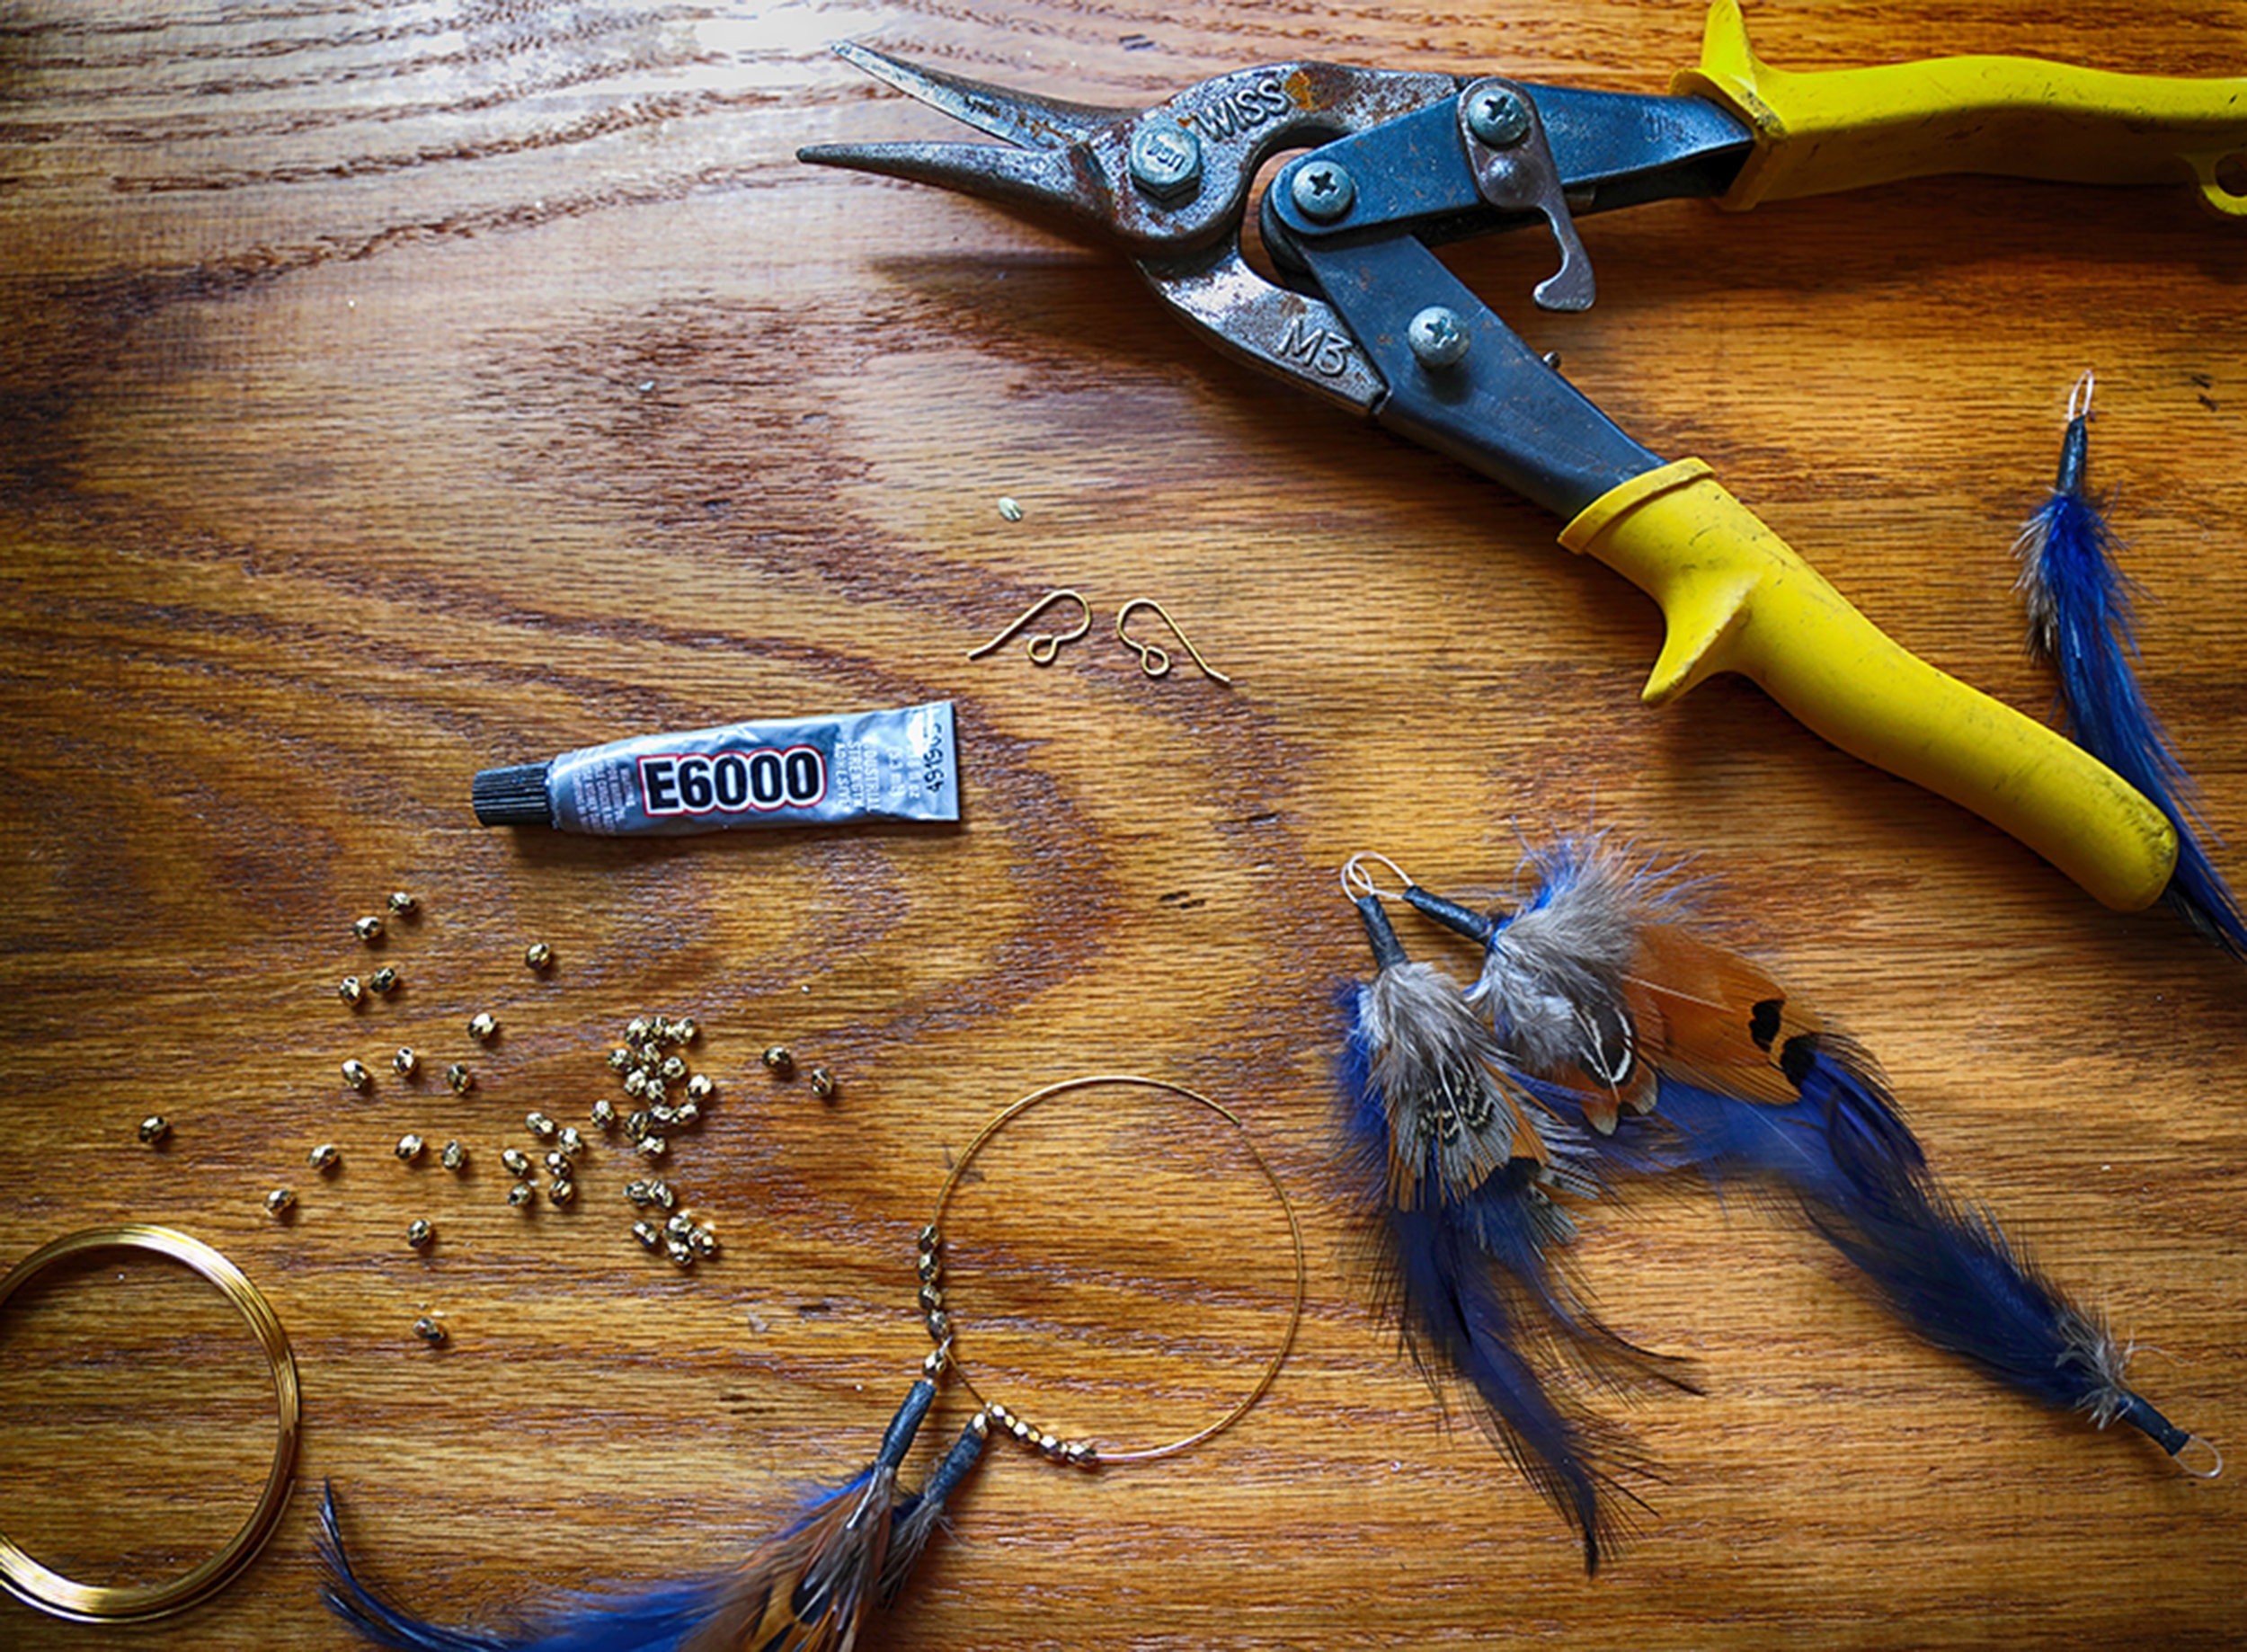
Here is what you need: 

(I went to Hobby Lobby) 

Wire of your desired color

Your choice of feathers and beads

Wire cutters

E6000 glue

J Hooks

Simply cut your wire as big or small as you'd like your earring. Then, loop your feathers through the wire (with these, from Hobby Lobby you can adjust the plastic loop at the top), add some beads on the sides, and then glue your wire circle with the E6000 glue (or solder if you're confident enough which I was not). After that, snap your circle into your J Hook. Boom! Chic and ready for date night! 

IMG_3644.JPG

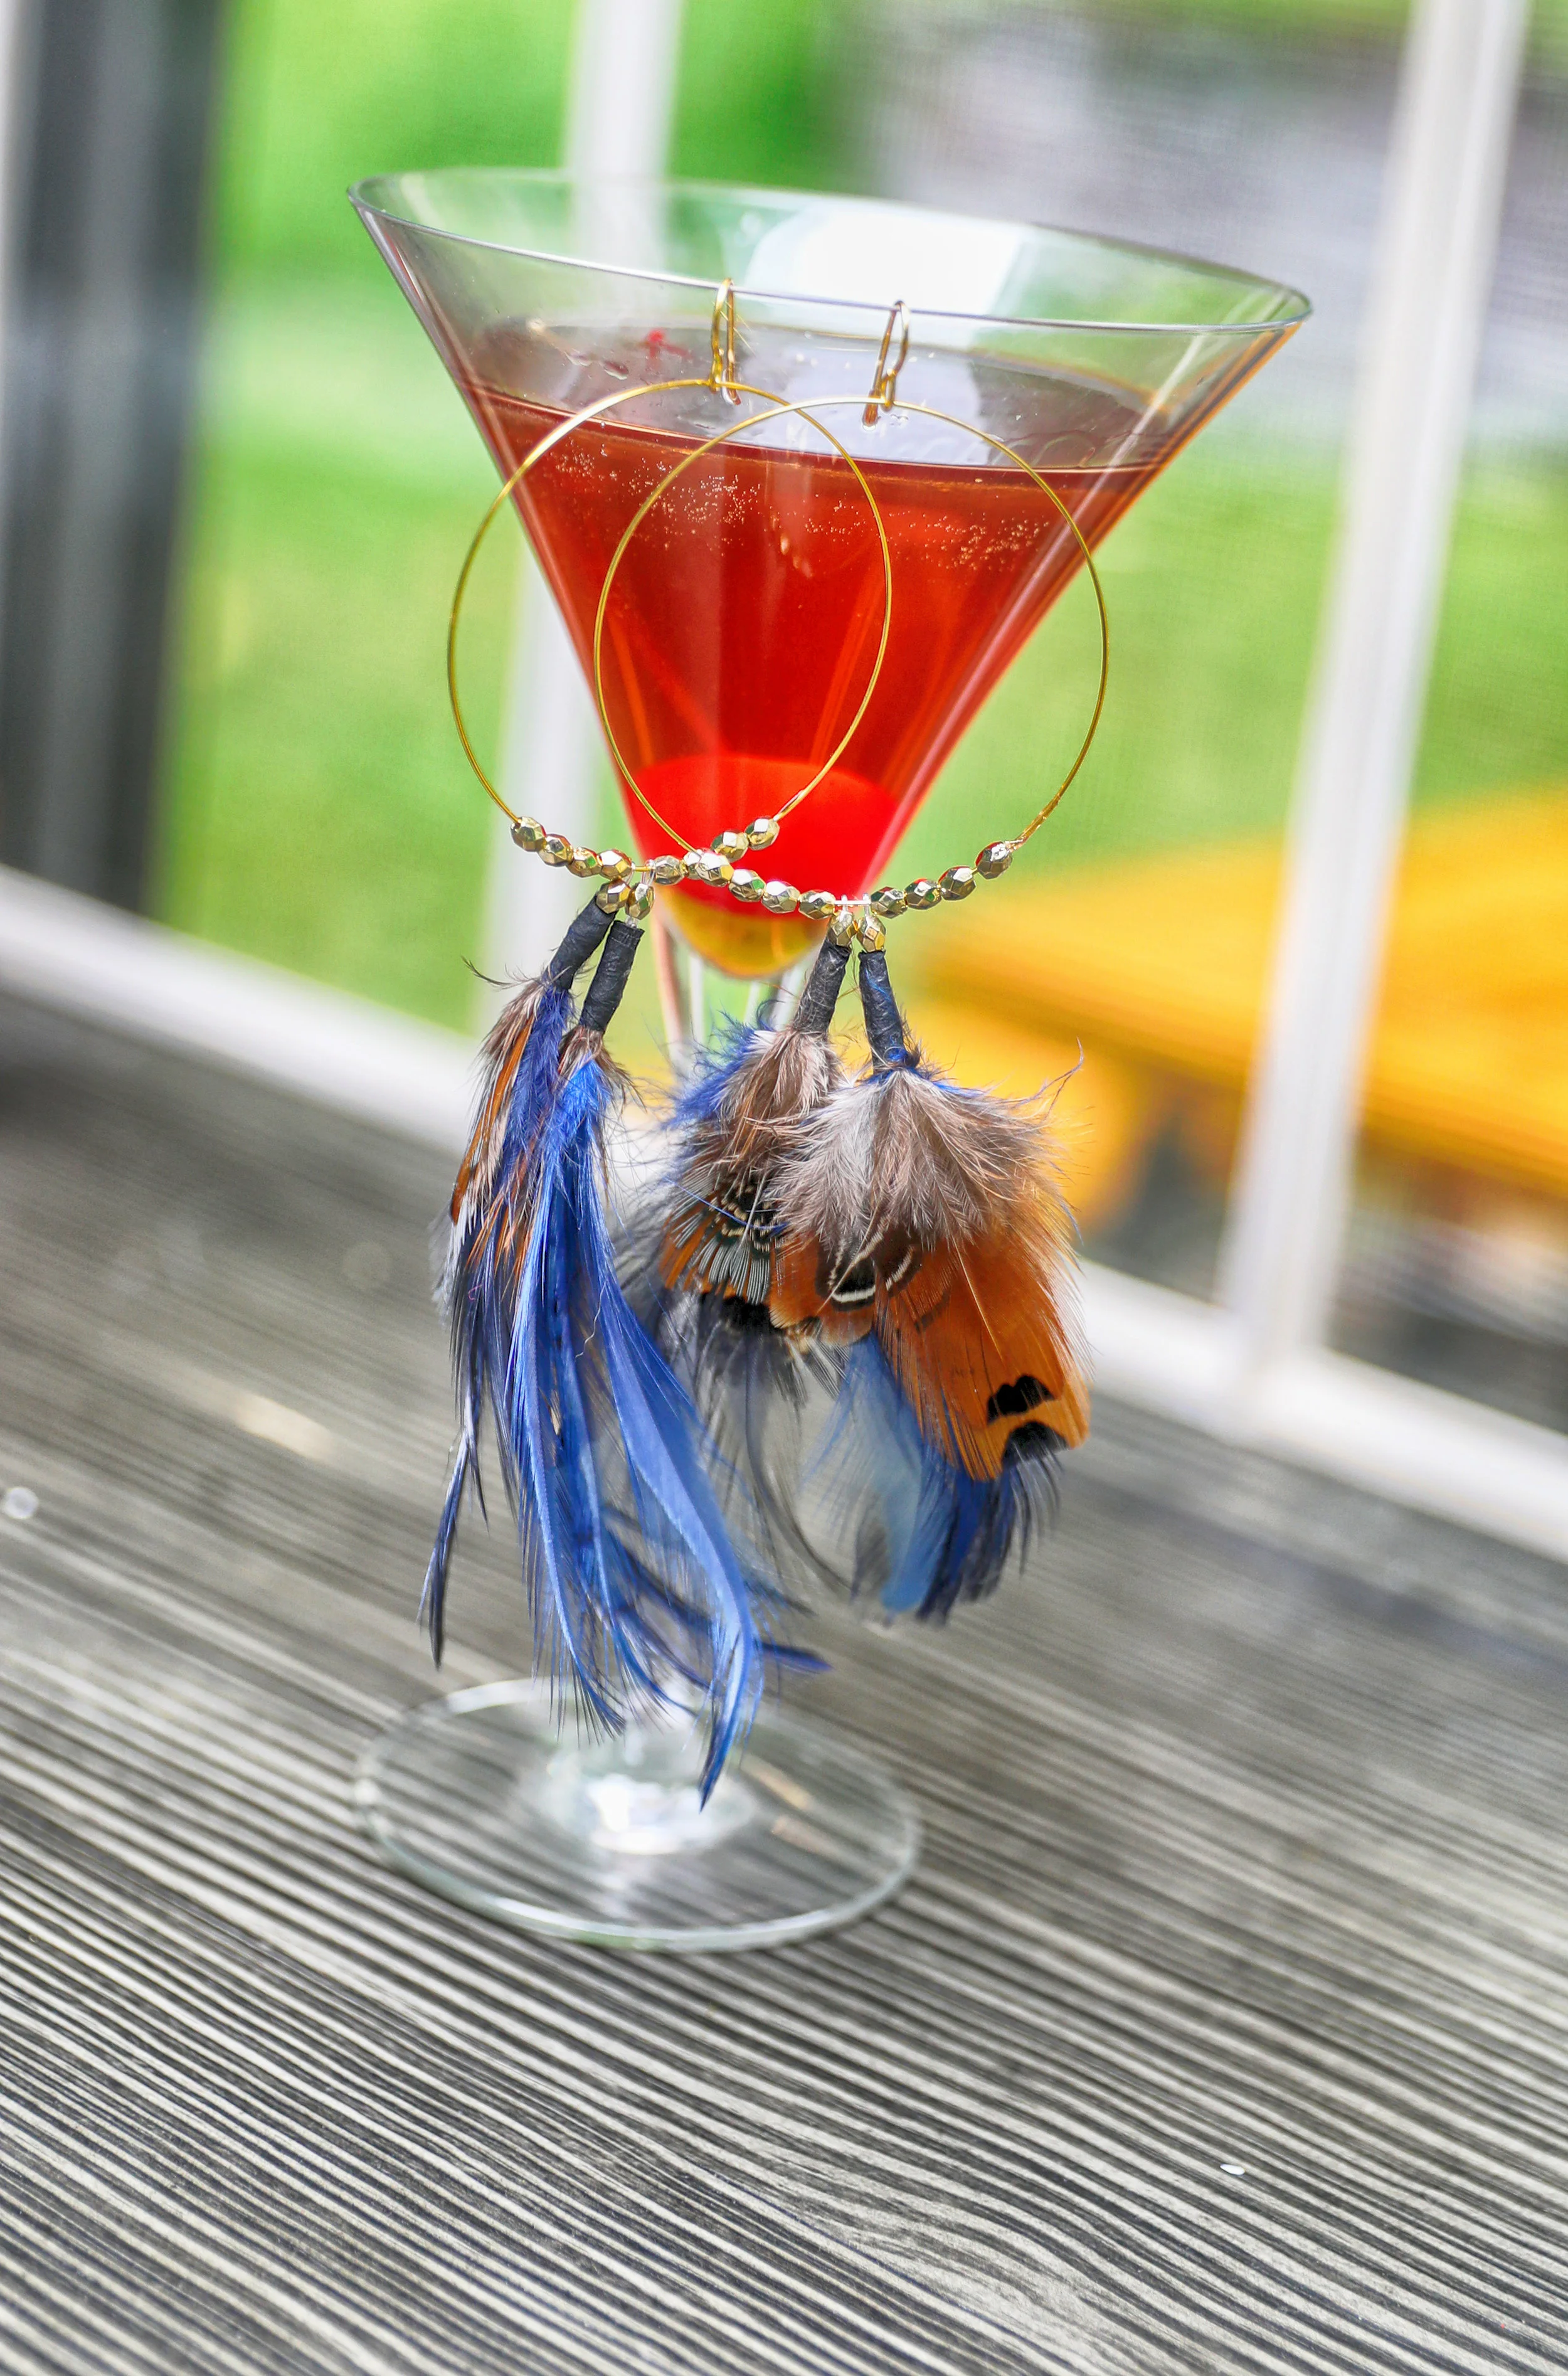
But what's date night without a drink before you walk out the door?!  

You guys, beware this drink is strong. Tasty but strong. I love Chambord so I thought it would be such a cool drink recipe. 

747A1091.jpg

Simply add everything except the cherry to a martini shaker over ice minus the cherry and strain into a martini glass. 

I hope all of you have a fabulous weekend!

xoxoss.jpg


Picture Perfect

Since wedding season is in full swing and many of you will be getting glam for your big day or your pals day I thought I would share some of my tips. MK and I have been photographing wedding for nine years and I've been doing a ton of makeup (and hair) throughout the years. After over 150 weddings shot, I sure have seen just about everything. From spray tans gone wrong, black marks on a dress, or even shoes breaking walking into the church. I know how to handle just about everything. I could go on and on about that but for now, I'm sharing my pro makeup tips for your next event.

IMG_2321.JPG

1. Stay away from shine!! Keep it matte all the way. Now that the weather is warmer lets face it, you can get a little sweaty. Thats a bad combination with shiny make up and being photographed.  

2. If you aren't having your makeup professionally done, make sure your foundation matches your skin tone perfectly. If not, the photos will show that it doesn't.  

3. When I do a brides makeup unless requested otherwise I always try to keep her as natural as possiblele and as close to what she looks like normally with just a tad more glam. You never want to look at your wedding photos in 20 years and say "What was I thinking with that makeup?!".  At the same time you don't want to go too light on the makeup because even if you feel like your eyes look a little heavy with makeup, it won't photograph that way. I call it natural glam. 

4. When it comes to liner, I always use a gel because I like the way it looks. Also, I'll start the liner in the middle of the eye because lining it all the way to the corner can make the eye look smaller. 

5. Never ever skip the primer! Not only does it smooth, you know like spanx for your face, it will keep your makeup on so much longer. Don't forget eyelid primer too! The smoothing effect really makes for much better photos

I hope my tips helped! Hoping everyone has a great wedding season no matter what part you play! 

xoxoss.jpg

A Marbel Marvel

I haven't done a Mani Monday in so long! Mostly because I rarely have much time to mess with my nails. I hardly have enough time to sit in a nail salon. Uh hate it! Ants in my pants! Anyway since I'm a DIY kinda girl I thought I would share this very festive nail art post. Disclaimer: I am so not a nail artist, I'm just looking to switch up my "norm". I'm usually all red all day all the time. So for this gloomy monday I am sharing how to do the marble nail look. Valentines Day is just around the corner so this could be your go to vday look. 

This is a super easy and fast look. For the marbled look all you do is pick your base color and your second color. Polish your nail with your first color, do two coats, let dry, and then do dots on the top of your nail. Let it sit for a bit, and then drag a toothpick through your dots until you reach your desired marble look. Play with colors to see which you like best. 

I love messing with nails because they can so easily be changed. It's fun to dabble with different. Have a wonderful Monday!  

Xoxo