Christmas

A Very Merry Christmas To You

With Christmas just a few days away I thought it would be a perfect time to share a little of my Holiday décor. Last year, at this time we had only been in our new house for about a month so to say that I was a little frazzled would be an understatement and yes we decorated but this year we actually had the time and energy to do it exactly the way we wanted it. MK had spent countless hours stringing lights outside to make it just right...and very bright. Ha!

We recently redid our foyer so new paint, new stairs carpeting, and new chandelier (not pictured) so we thought this was the perfect place for our Christmas card this year.

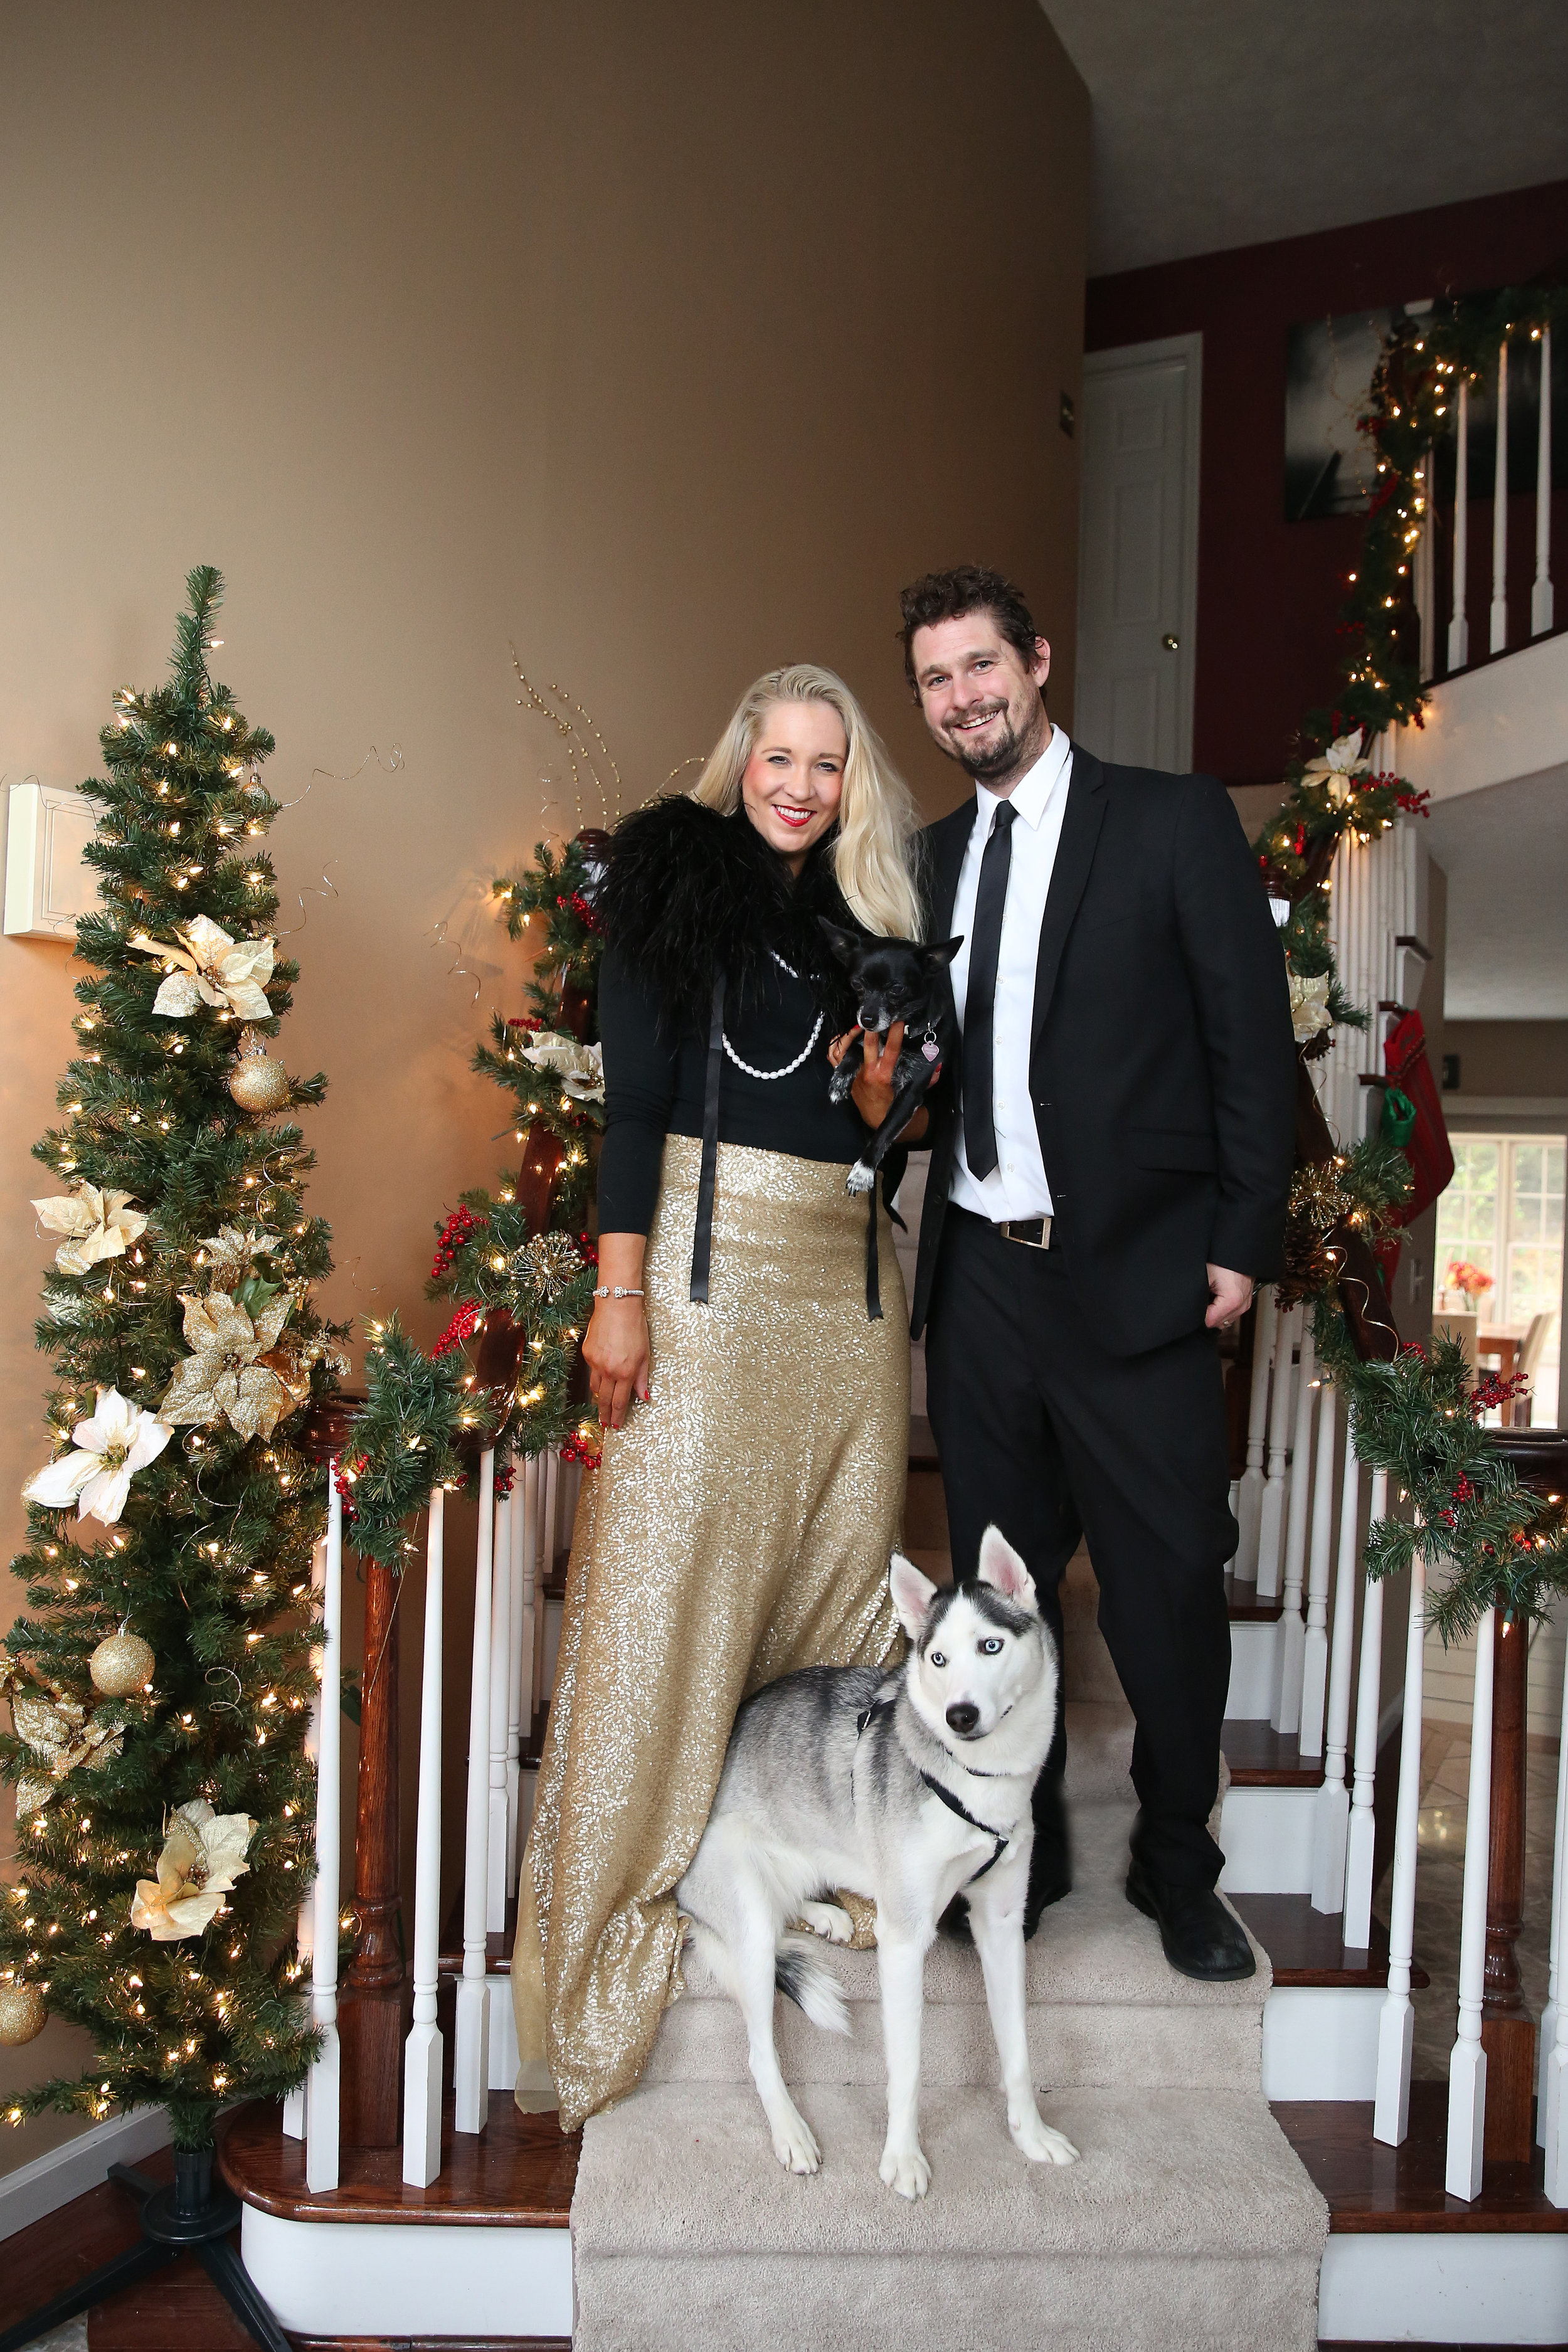
Of course we had the dogs in their usual spot. Our house was made for pencil trees!

From us Kilgores to all of you

Merry Christmas!

Wrapped Up

Hello and Happy Friday!

I for one am very happy that we have reached the weekend! I'm coming off of a very busy week and I don't know about you but I'm just about ready for a drink. This is a very easy crowd pleasing drink that you can throw together for a twist on a classic.

The Holiday Cocktail

-1 1/2 oz Vodka

-As much Cranberry Juice as you want

-Top with Ginger Ale

-Garnish with mint, lime, or rosemary (my fav!)

As I've stated before this is the first Christmas in about three years that I'm able to actually enjoy it. So I am soaking in all things Christmas! I've wanted to do this post for YEARS but never had time. Today I am sharing how to make the perfect bow. I've always been completely obsessed with wrapping. It has always been a favorite things to do around this time of year. Having worked in retail one thing I picked up was bow perfection. There might be eight steps but once you get the hang of it, this will be your very fast go to bow!

Step One:

Wrap your gifts and tie your ribbon around the box in a knot.

Step 2:

Choose your colors and use as many as you want! It works with one or five.

Step 3:

Fold the ribbon in half. This is where you decide how big you want it to be (this is one side of your bow).

Step 4:

Do the same to the other side.

Step 5:

Go back and forth as many times as you'd like. Just remember the more you do the bigger your bow will get.

Step 6:

Directly in the middle make two small cuts on both sides. Make sure you don't cut all the way. The middle of the cuts will get tied.

Step 7:

Right where you made the cuts, take your ribbon that is already around your box and make a knot to secure your bow.

Step 8:

Simply fluff and pull apart the loops of the ribbon.

Tada! You're done!

Have a great weekend! I've got some wrapping to do that's for sure! Cheers!

xoxo